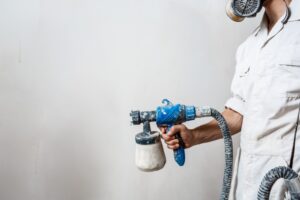
A clear coat is a layer of transparent paint that is applied over the top of a base coat or other type of paint. Clear coats are typically used to protect the base coat and provide a high-gloss finish.
In order to get the best results, it is important to prepare the surface properly before applying the clear coat.
What is a clear coat?
A clear coat is a type of paint that is applied over the top of another colour to protect it from scratches and UV rays. It’s a great choice for surfaces that are frequently exposed to scratches, like metal, plastic, and glass.
The surface must be properly prepared before a clear coat can be applied – this includes cleaning and sanding the area.
Applying a clear coat is a simple process, but it’s important to follow the instructions carefully to achieve the best results. Make sure to sand the surface until it’s smooth and free from any imperfections, and apply a clear coat in the desired colour.
Be sure to wait until the clear coat is completely dry before using the surface. The clear coat is a great way to protect your investments, and it can make your project look even better!
Why do you need to prepare the surface for a clear coat?
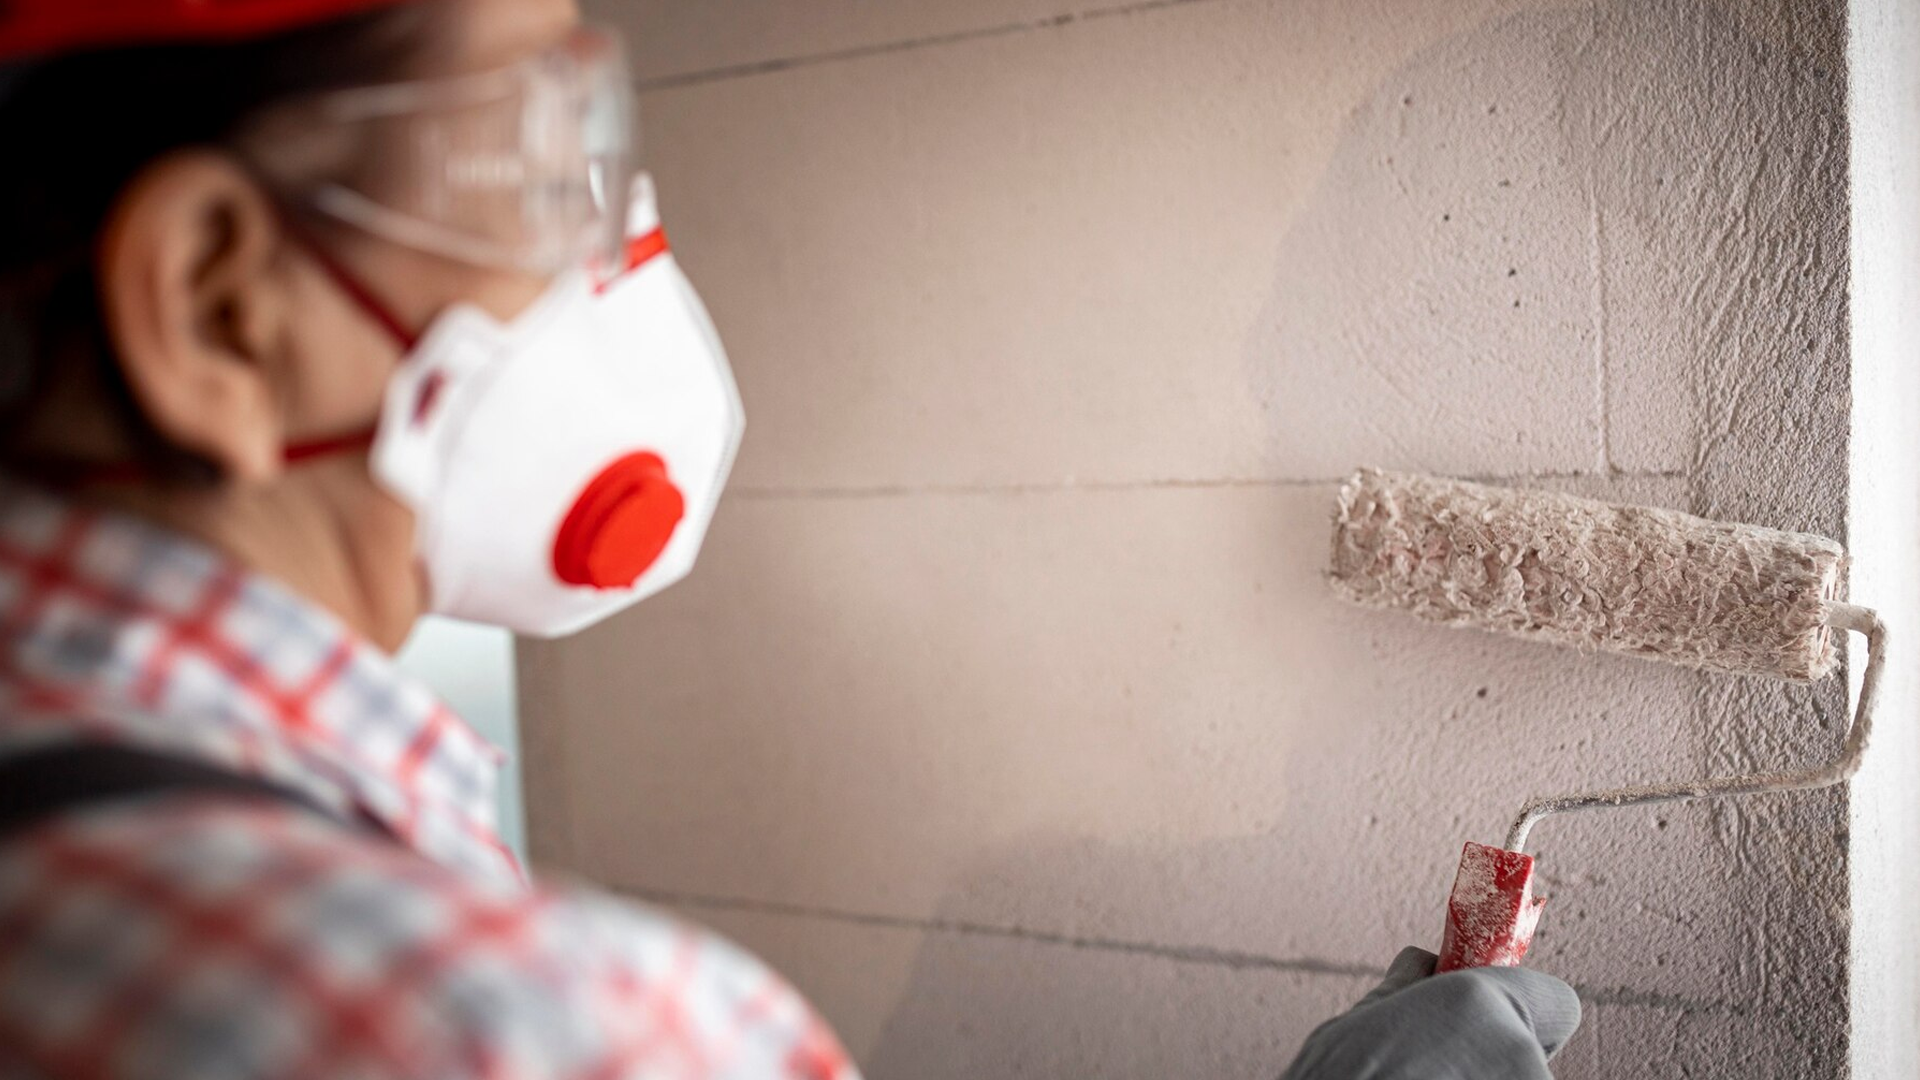
Prepping the wall surface for a clear coat is essential if you want a smooth and shiny finish.
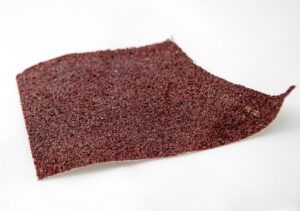
To get the best results, sand down the surface to remove any imperfections.
This will give you a clean slate to work on and ensure a smooth finish. Make sure to use fine-grit sandpaper to avoid damaging the paint job underneath. Now you’re ready to apply your clear coat!
Tips for preparing the surface for a clear coat
It’s important to prepare the surface you’re going to apply a clear coat to properly. Follow these tips to ensure a smooth and flawless finish.
First, make sure the surface is clean. Remove any wax or grease with a degreaser. Next, sand the surface smoothly with a fine-grit sandpaper.
Finally, wipe the dust off with a damp cloth before applying a clear coat. Be sure to apply a clear coat in a well-ventilated area to avoid fumes. And that’s all you need to know to get a great clear coat finish on your projects!
How do you mask off areas before painting with a clear coat?
In order to mask off areas before painting with a clear coat, you will need to first clean and dry the surfaces. Once the surfaces are clean, you can then begin to mask off areas that you do not want to be painted.
This may include areas such as windows, door handles, chrome trim, etc. When masking off these areas, it is important to use high-quality masking tape and paper for the best results.
You will also want to ensure that there are no gaps between the masking tape and the surface.
What type of primer should be used before applying a clear coat?
Primers are typically applied before a clear coat in order to create a smooth and even surface. For best results, use a high-build sandable primer that can be sprayed on with a gun. Depending on the type of material being painted, different primers may be required.
It’s important to allow the primer to dry thoroughly before applying the clear coat. If you don’t wait long enough, the clear coat will not adhere properly and could peel off later. A clear coat should be applied within 24 hours of primer for optimal results.
Is it necessary to apply a base coat before applying the final clear coat layer?
When it comes to painting walls, it is typically necessary to apply a base coat before applying the final clear coat layer. Preparing the surface for a clear coat involves sanding, cleaning, and priming the surface.
Sanding eliminates imperfections, such as dust, dirt, and grime from the surface. This provides a smooth base for the paint to adhere to.
Cleaning is important to remove any oils or contaminants that may be on the surface. This will guarantee that the paint is thoroughly adhered.
Priming helps fill in any remaining imperfections and adds adhesion between the basecoat and clear coat layers. It also helps prevent rusting and fading.
Is there anything else that needs to be done to prepare the surface before clear coating it?
After sanding the surface with a fine grit, such as 1000-2000 grit, you will need to remove any dust and debris from the surface with a lint-free cloth.
Next, clean the surface with isopropyl alcohol to remove any grease and oils. Mask off any areas of the surface that you do not want clear coated.
Apply a high-build primer before applying the clear coat for better adhesion.
How to ensure that the surface is properly prepared for a clear coat?
To ensure that your surface is properly prepared for a clear coat, you should follow these steps:
- Clean the surface thoroughly with a degreaser and allow it to dry completely. This will remove any oils or residues that may prevent the paint from adhering properly.
- Use sandpaper with an appropriate grit for the surface you are prepping. For example, if you are prepping a metal surface, you will want to use finer grit sandpaper so that you do not create any scratches or mar the surface.
- Mask off any areas that should not be painted or coated. This includes any areas that will be exposed after the clear coat is applied, such as hardware or seams.
- Apply a primer coat and wait for it to dry before applying the clear coat. This will help the paint to adhere better and create a smoother finish.
Conclusion
A clear coat is a type of finish that is applied over the base coat of paint. It is usually applied to protect the base coat and to give the paint job a high-gloss finish. In order to get the best results, it is important to prepare the surface before applying a clear coat.
This can be done by sanding the surface, cleaning it with soap and water, and using a tack cloth to remove any dust or debris. Following these steps will help you achieve a smooth and even finish when applying a clear coat to your surface.
