We tend to take certain things for granted – not just because we don’t want to question them too much, but also because we don’t even notice that there’s something worth questioning in the first place. For example, most people don’t give the concept of mortar and render much thought until they have some specific reason to do so (like, say, you hear that it’s possible to use mortar instead of render).
In this article, I want to show you how you can use mortar as an alternative repair material to render with.
Many people think that render and mortar are the same things, but they actually work differently on walls. If you’ve ever wondered if you could use mortar to repair render or if you should use render to repair mortar, here’s the answer you need to know!
If you have ever tried to repair renderings, you’ll know that it can be a tricky business and one that many people get wrong. While it’s tempting to reach for the nearest tub of mortar and start smearing away, this isn’t always the best idea – as we’ll explain in this short guide, can you use mortar to repair render?
There are much better alternatives out there! We hope that this will help you in your next project, so you get it right the first time and save yourself some heartache later down the line.
What is Rendering?
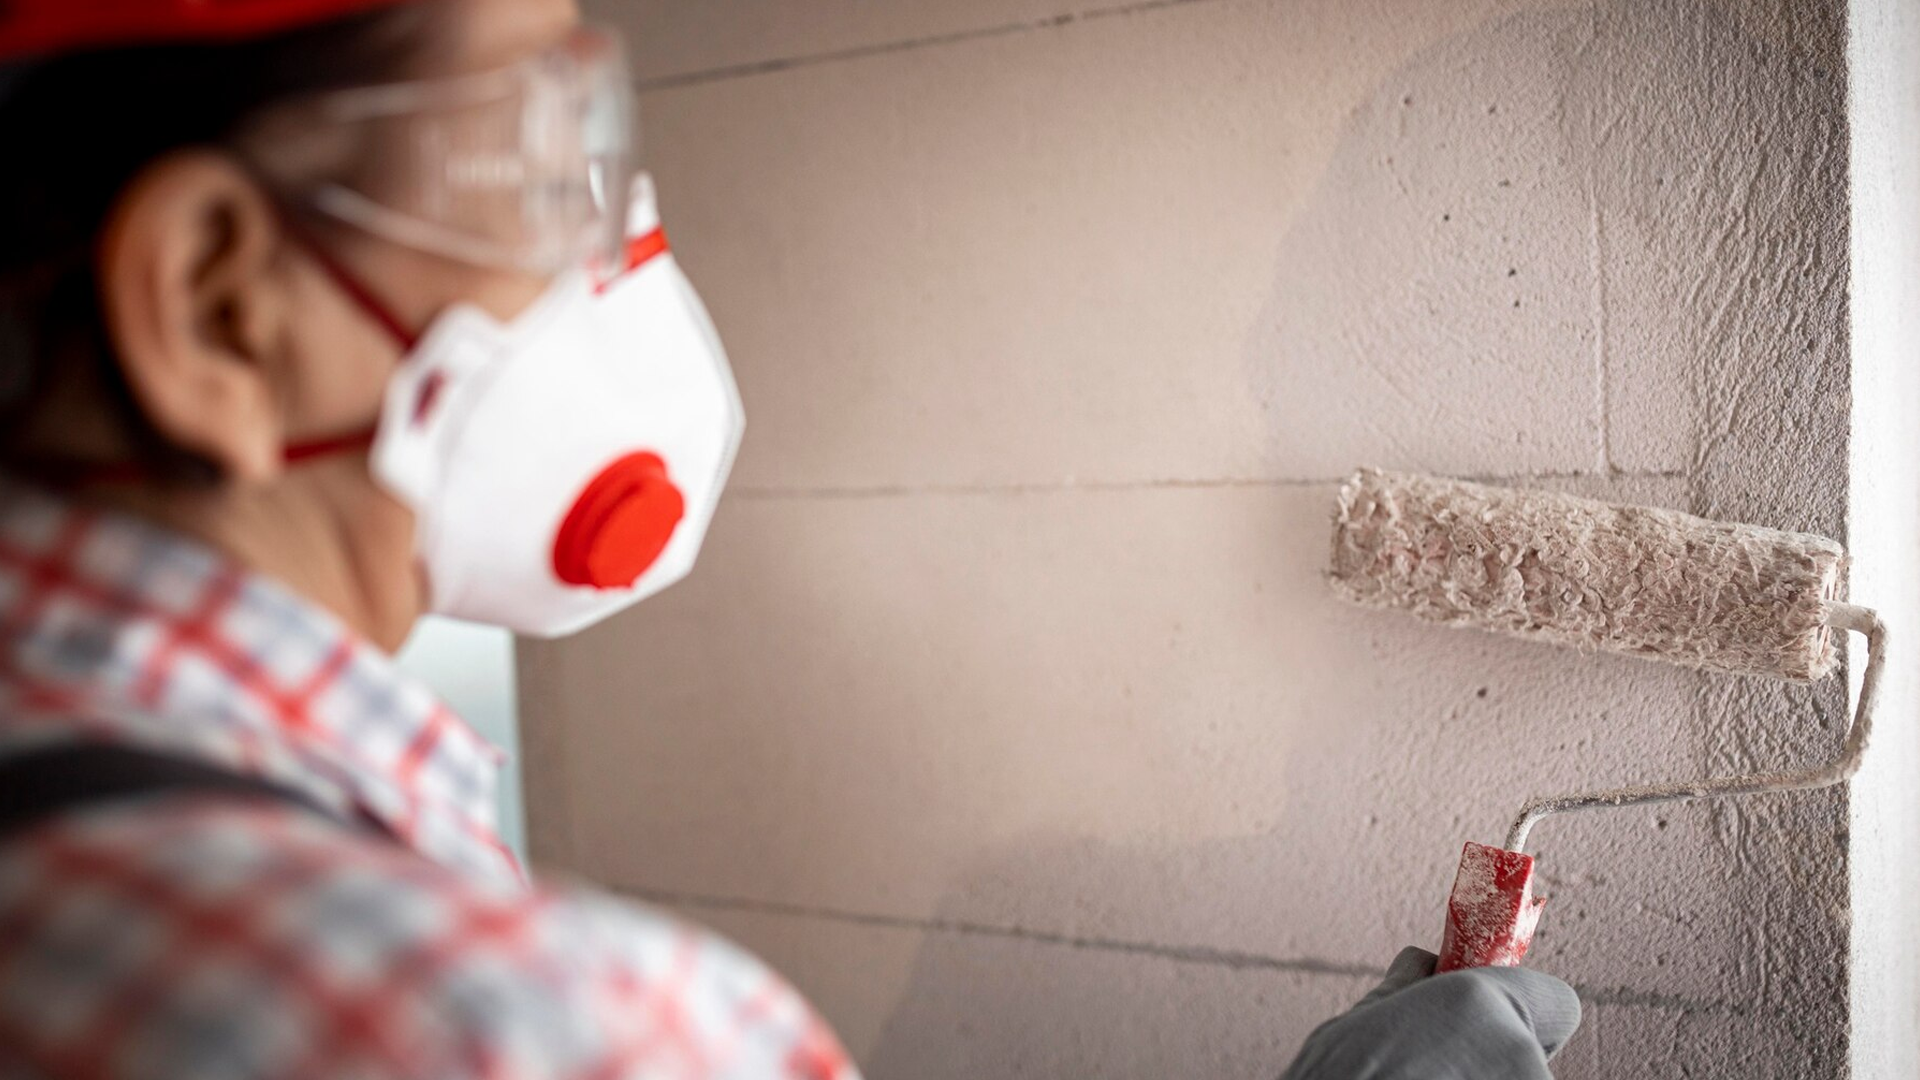
Rendering is the process of covering a building’s exterior with a protective, weather-resistant material. This layer of protection provides both insulation and decorative value.
It is most often applied over brick, block, or stone walls for protection against water, wind, and cold as well as for decoration. However, it can also be applied over wood frames (siding) and in some cases over steel framing.
In addition, rendering is also used in conjunction with stucco finishes where a smoother finish is desired. It has become increasingly popular in recent years due to the increased interest in preserving historic buildings while still meeting today’s building codes.
There are three main types of rendering:
1) Plastic-based render – Generally cheaper but not as durable.
2) Lime-based render – More durable than plastic but more expensive.
3) Clay-based render – Durable and cheapest option.
Clay-based renders have been around since ancient times when they were used on Egyptian pyramids. They have remained popular because they provide a very durable surface that can last up to 200 years without much maintenance at all.
That said, their durability does come with a cost – clay-based render is prone to cracking so this type of material will require regular sealing. Another downside to clay-based render is that it expands and contracts depending on temperature and humidity which means that small cracks can easily turn into large gaps between bricks if left unaddressed.
Furthermore, certain parts of the world have restrictions or bans on using this type of product because those areas suffer from soil erosion problems from high levels of precipitation making the clays unstable.
One thing worth noting about clay is that there are many different types available so understanding which one your contractor recommends is key! You don’t want to just pick one off a shelf without any research first.
What are the Differences Between Render and Mortar?
Render is the name given to a type of cement-based building material that is often used for covering external walls. It can be applied in either a solid or a patterned finish.
Render is made from cement and sand, and it dries into a hard, protective shell that helps insulate the wall from extreme weather conditions.
Render and mortar are both building materials typically used for exterior wall construction. They are similar in composition but have different applications.
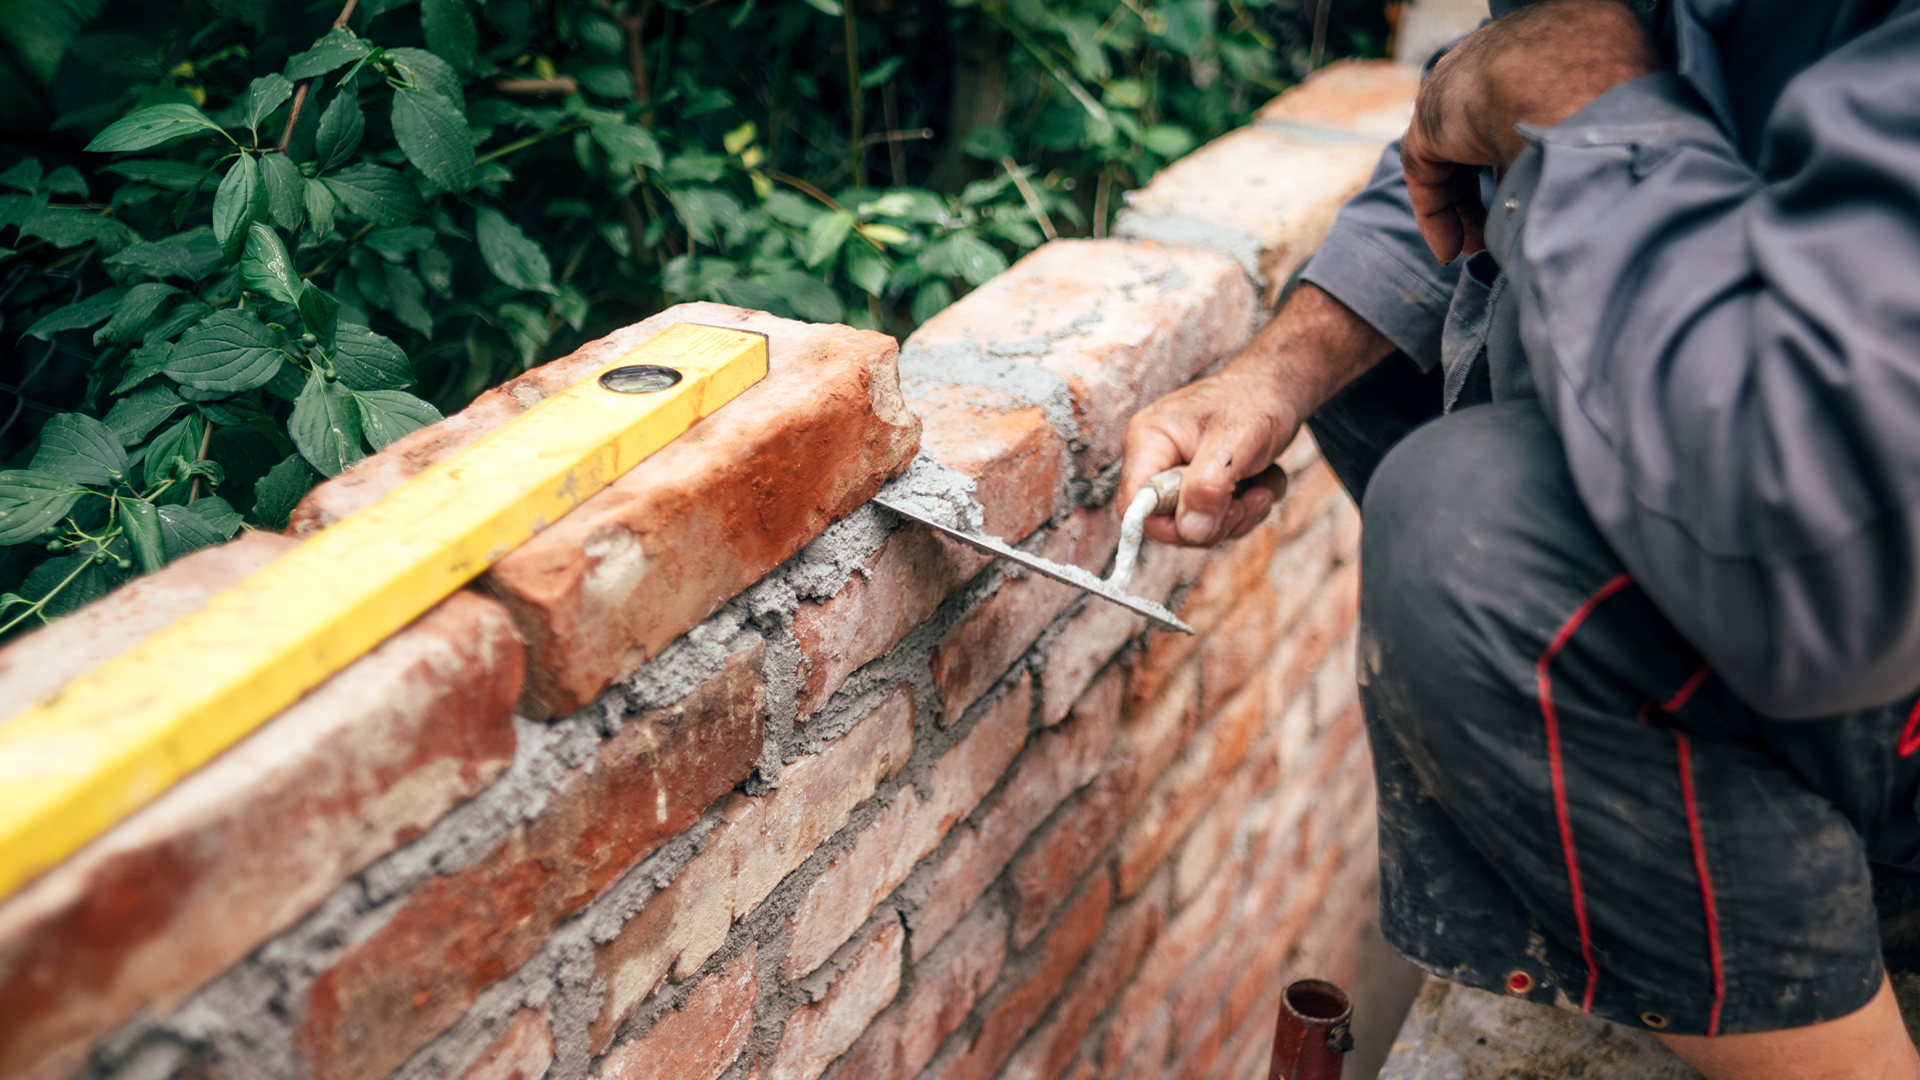
Rendering creates an outer layer on a wall while mortar fills gaps between bricks or other pieces of masonry work. Mortar is also primarily used for bonding brickwork together.
Mortar comes in a variety of colours and textures so it can match the brickwork being repaired. There are two types of mortar available to purchase: thin-set and latex.
A thin set is more economical but has limited water absorption capabilities so it cannot be used where water seeps through the joints. Latex has better water absorption properties and doesn’t shrink as much when dry, making it perfect for outside repairs such as window frames and thresholds.
The decision about which one to use will depend on the purpose and location of your project as well as your budget.
Which One Should I Use to Repair My Render?
The solution might not be as obvious as it first appears. There are many factors to consider when trying to choose the best option for repairing your render.
For example, do you have enough time and money available? Do you need a quick fix, or do you want the best possible option? Is this a one-time fix, or will it happen again soon?
These are all questions that need to be answered before choosing the right solution for your situation. However, there is one thing we know: If you are looking for the absolute easiest way to repair your render in a short amount of time with little financial investment, then using mortar is an excellent choice.
Mortar comes in powdered form and can be mixed with water in different ratios depending on what type of material you would like to create. You can even find pre-mixed packages which come with two different types of powder so you don’t have to worry about mixing it yourself.
With these easy-to-find options readily available at most home improvement stores, repairing your old paint job has never been easier! All you need is a bucket of water, a few trowels, and some patience.
Mix the desired ratio of powder with your desired amount of water in a large bucket. Pour it onto any areas where there is missing paint. Be sure to cover up any furniture near the area to avoid any damage from dripping paint while you’re working.
Use one trowel per batch so they don’t get over-mixed. Scrape off any excess mix that doesn’t get stuck on the surface being repaired by scraping it against another side of the trowel handle or scraping against itself.
The texture should become smooth within 10 minutes if left untouched without any other distractions interfering with its progress.
