Preserving the Charm and Integrity of Your Home Through Proper Render Repair
Weathered exterior render can give your home a tired and neglected appearance. Those unsightly cracks not only spoil your home’s look but can also lead to more serious issues if left unattended. Fortunately, repairing rendering doesn’t have to be an overwhelming task. In this comprehensive guide, we will take you through three simple steps to wave goodbye to those cracks and restore your home’s beauty.
Why Dealing with Render Cracks is Important
When cracks surface on your home’s render, they are more than just an aesthetic concern. Moisture can seep into these cracks, causing structural harm over time. By addressing these cracks promptly, you not only uphold your home’s appearance but also prevent potential expensive repairs down the line.
- Preserving Structural Integrity: Render cracks may seem minor on the surface, but they provide an entry point for moisture. Over time, moisture infiltration can weaken the underlying structure of your home. This can lead to more severe problems, including compromised foundation integrity and increased vulnerability to weather-related damage.
- Preventing Escalating Costs: Ignoring render cracks can result in a domino effect of issues. The initial cosmetic concern can escalate into more substantial damage, such as water damage, mold growth, and deterioration of materials. These issues not only compromise your home’s aesthetics but also necessitate costly repairs that could have been avoided with timely action.
- Safeguarding Aesthetics and Value: Your home’s exterior appearance plays a significant role in its overall value and curb appeal. Cracked render can significantly diminish the visual appeal of your property, impacting its desirability to potential buyers and neighbors alike. Addressing cracks promptly ensures that your home maintains its charm and value.
- Preventing Future Complications: Left unattended, minor cracks can widen and deepen, exacerbating the structural damage and repair costs. Additionally, as moisture continues to infiltrate, it can lead to the growth of mold and mildew, affecting indoor air quality and potentially posing health risks to occupants.
- Maintaining Longevity: Regular maintenance and timely repairs extend the lifespan of your home’s exterior. By addressing render cracks promptly, you contribute to the durability of your home and reduce the likelihood of premature deterioration.
Key Points:
- Cracks expose underlying substrate to moisture, weakening the structure over time.
- Cracks impact curb appeal, affecting your home’s value and aesthetics.
In essence, tackling render cracks is not just about aesthetics – it’s a fundamental step in maintaining the health, integrity, and value of your home. By addressing these cracks with urgency, you set the stage for a secure, aesthetically pleasing, and enduring living environment.
Render Repair Step 1: Assessing the Damage
Commence your render repair journey by conducting a thorough assessment of your home’s exterior. This initial step is crucial in understanding the extent of the damage and determining the appropriate course of action. Remember, a well-informed assessment sets the foundation for an effective repair process.
- Visual Inspection: Begin with a comprehensive visual inspection of your home’s exterior. Walk around the property, paying close attention to the render’s surface. Look for visible cracks, chips, or signs of wear. Take note of the size, location, and severity of each crack.
- Probing Technique: For a more precise evaluation, consider using a simple tool like a screwdriver. Gently probe the identified cracks to assess their depth and extent. If the screwdriver easily penetrates the crack, it could indicate a more profound issue beneath the surface. Take photographs to document the condition of the cracks for future reference.
- Documenting Findings: Keep a detailed record of your assessment findings. Note down the dimensions of the cracks, the locations where they are most prominent, and any additional observations you make during your inspection. This record will serve as a valuable reference when determining the necessary repair approach.
Expert Advice: For a comprehensive evaluation, it’s recommended to consult with a professional render repair specialist. Their trained eye can identify nuances that might go unnoticed, such as underlying issues contributing to the damage. A specialist can also provide insights into the urgency of repairs based on the severity of the cracks and the potential risks they pose.
- Actionable Tip: Before starting your assessment, equip yourself with proper safety gear, including gloves and safety goggles. This will ensure your safety while inspecting potentially damaged areas and using tools during the evaluation process.
By conducting a thorough assessment, you equip yourself with the knowledge required to make informed decisions regarding your render repair. Remember, accuracy in identifying the extent of the damage will guide subsequent steps, leading to an effective and long-lasting repair outcome.
Render Repair Step 2: Choosing the Right Repair Method
As you embark on your journey to restore your home’s exterior beauty, selecting the appropriate repair method is paramount. The choice you make at this stage will significantly impact the longevity and effectiveness of your render repair. Let’s delve into the factors to consider and actionable advice from experts in the field.
- Crack Depth and Width: The extent of the damage plays a vital role in determining the suitable repair method. For minor cracks, acrylic filler is a suitable option. Deeper cracks may necessitate a polyurethane-based filler for greater durability. Seeking advice from a professional can help you decide on the best approach for your specific circumstances.
- Flexibility for Deeper Cracks: When faced with deeper cracks or those showing signs of movement, a flexible solution is necessary. This is where polyurethane-based fillers shine. These fillers possess the flexibility to accommodate slight shifts in the structure without re-cracking, making them a robust choice for areas prone to movement.
Key Points
- Acrylic filler suits minor cracks (<1mm), effectively sealing them.
- Polyurethane fillers are ideal for deeper cracks and those prone to movement.
- Consult with professionals for tailored guidance on repair methods.
Expert Advice: While the above guidelines provide a general framework, consulting a professional render repair specialist offers tailored insights based on your specific situation.
- Actionable Tip: Test a small, inconspicuous area before applying any filler to the entire crack. This will help you assess how the filler adheres and dries on your particular render surface, ensuring the best results.
- Professional Selection: Relying on a professional’s expertise in this step can be invaluable. Render repair specialists have an in-depth understanding of various filler types and their compatibility with different surfaces. A specialist can accurately assess the cracks’ characteristics and recommend the most suitable filler for optimal results.
- Holistic Approach: Expert advice often encompasses not only the type of filler but also the root causes of the cracks. Professionals can identify underlying issues such as water leakage or inadequate ventilation that might contribute to render damage. Addressing these root causes ensures a comprehensive and lasting repair.
By considering the depth of the cracks, the type of filler, and seeking expert guidance, you position yourself to make an informed decision for your render repair. Remember, an appropriate choice at this stage contributes significantly to the longevity and effectiveness of your repair efforts.
Render Repair Step 3: Applying the Repair Solution
Now comes the practical part. Applying the chosen repair solution demands precision, attention to detail, and adherence to specific techniques. Let’s explore the actionable steps and expert insights that will guide you towards a successful repair outcome.
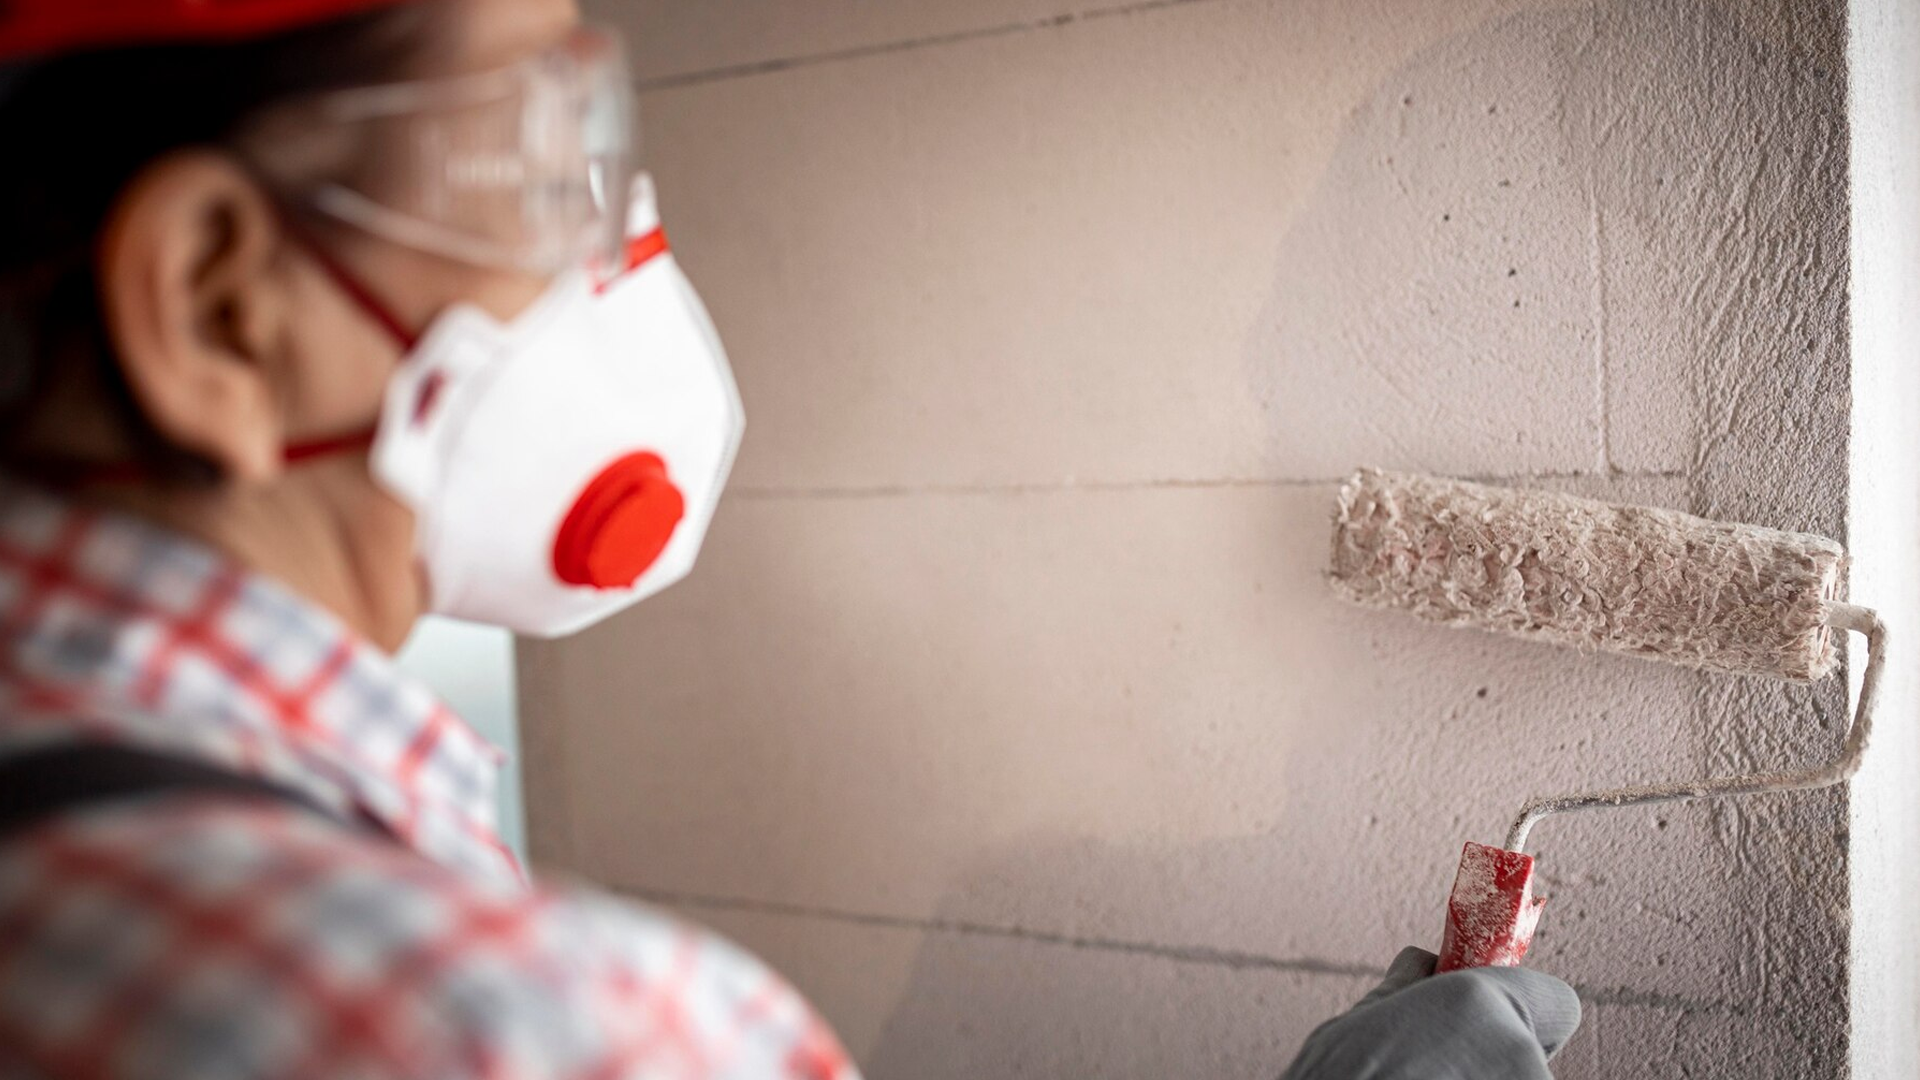
- Surface Preparation: Before applying any filler, meticulous surface preparation is essential. Thoroughly clean the affected area to remove dirt, dust, and loose particles. Use a stiff brush or a pressure washer on a gentle setting to ensure the surface is clean and ready for repair.
- Dry Surface: Ensure that the surface is completely dry before applying the filler. Moisture can interfere with the filler’s adhesion and effectiveness. A dry surface sets the stage for a seamless repair.
- Expert Advice: Consistency is key when applying the repair solution. Follow the manufacturer’s instructions meticulously, as different fillers may have varying application requirements.
- Actionable Tip: If the crack is wider than the recommended application thickness, it’s advisable to apply the filler in layers. Allow each layer to dry before adding the next to prevent cracking and ensure a uniform finish.
Application Technique: Use a putty knife or a similar tool to apply the filler evenly across the crack. Press the filler firmly into the crack, ensuring it fills the entire space. Feather the edges of the filler to seamlessly blend it with the surrounding render, creating a uniform appearance.
- Drying Time: Respect the recommended drying time provided by the manufacturer. Prematurely disturbing the filler before it’s fully cured can compromise the repair’s integrity and longevity.
- Sanding for Smoothness: Once the filler is completely dry, you can gently sand it to achieve a smooth finish. Sanding also helps blend the repaired area with the rest of the render, ensuring a seamless appearance.
Expert Insight: Professional render repair specialists emphasize patience during this step. Rushing the drying process or skipping sanding can lead to suboptimal results.
- Actionable Tip: Utilise fine-grit sandpaper for the final sanding stage. This minimizes the risk of damaging the surrounding render while achieving a polished finish.
By meticulously following the manufacturer’s instructions, employing appropriate techniques, and seeking expert insights, you’re well on your way to achieving a flawless render repair. Remember, attention to detail during application and drying plays a pivotal role in ensuring the longevity and aesthetic appeal of your repaired render.
Key Points:
- Clean the area using a brush or pressure washer to remove dirt and debris.
- Allow the surface to dry completely before applying the filler.
- Apply the filler evenly, pressing it firmly into the crack and feathering the edges.
- Allow the filler to dry according to instructions before sanding for a smooth finish.
The All Weather Coating Advantage
At All Weather Coating, we recognise the significance of maintaining your home’s allure and structure. Our team of experts specialises in render repair, utilising advanced techniques to ensure a flawless finish. With years of experience in weatherproof coatings, we are dedicated to offering homeowners throughout the UK top-tier solutions.
The Lasting Benefits of Expert Render Repair
Opting for a professional render repair service brings a host of benefits. Not only do you benefit from skilled craftsmanship, but you also gain access to the correct tools and materials for the task. A reputable company like All Weather Coating guarantees a seamless repair that stands the test of time, safeguarding your home’s exterior against the elements.
- Skilled technicians identify underlying issues contributing to render damage.
- Professional repair addresses both cosmetic and preventive aspects.
Transform Your Home Today
Don’t allow cracked render to diminish your home’s appeal any longer. With the right approach and expert guidance, you can bid farewell to those unsightly cracks and restore your home’s charm. All Weather Coating is here to steer you through the process, ensuring that your home remains a testament to durability and elegance.
Get in touch with our team today for a quote.


