Sure, we can use wall putty on outside walls. Nevertheless, it must be waterproof to withstand rain and produce the best, longest-lasting results.
Everyone wants to improve their walls to look attractive and reflect more colour. Because a smooth surface appears far nicer than a rough one, interior and exterior wall putty are now frequently used. Putty aids in smoothing the surface and filling up any minor holes or cracks in the walls.
Are external walls needed to have putty?
Although putty is not required, you must use wall putty if you see any small cracks or pores in the walls. Indeed, most putty is waterproof as well, which helps prevent your wall from being easily harmed. This is a fantastic way to safeguard your walls and increase their durability. If you haven’t yet applied putty to your walls, choosing both interior and exterior wall putty is suggested to ensure that they’ll still look great years from now.
Do we need to prime a wall putty before applying it?
Although not required, a primer coat is advised if you have used acrylic wall putty or cement-based putty. Applying a priming application before and after the wall putty will be wonderful for getting the greatest results.
Because it is impractical to renovate a building every year, it is preferable to use wall putty, which will ensure that you won’t have to spend money on your walls for a very long time.
Waterproof
Any surface fractures on the walls of your house might allow water to seep in, causing harm to the external walls. Waterproof putty for outside walls is used to avoid this. White cement and re-dispersible polymer are two of the ingredients that are most frequently found in waterproof putty. As a result, when the waterproof putty is applied, the surface’s fissures are filled in, and the putty’s polymer also renders the surface water-resistant.
Resistance to Efflorescence
The crystal-white substance that is most frequently observed on walls is called efflorescence. When salts inside the walls come into contact with water, white spots emerge on the walls as a result. Yet, the use of waterproof wall putty shields the walls from efflorescence by preventing the salt from coming into touch with water and appearing on the walls.
Increased paint tensile strength
The paint on the walls typically peels due to the moisture-affected wet walls. Painting over the moisture collection is a temporary fix because the moisture is still inside the walls. But, once the exterior waterproof putty is utilised, it prevents water from penetrating the surfaces of the home, extending the life of the topcoat paint that has been applied.
So, by giving homes essential protection, using waterproof putty for exterior walls helps us throughout time.
Application of exterior wall putty
Now, many people would be wondering if applying waterproof putty will be time-consuming or difficult, given that it appears to be the best option for outside walls. Contrary to popular belief, waterproof putty is applied to walls by first moistening the relevant wall surface with water. The waterproof putty is added, along with 36% to 38% of water, and well mixed to make a creamy white, consistent paste.
Steps:
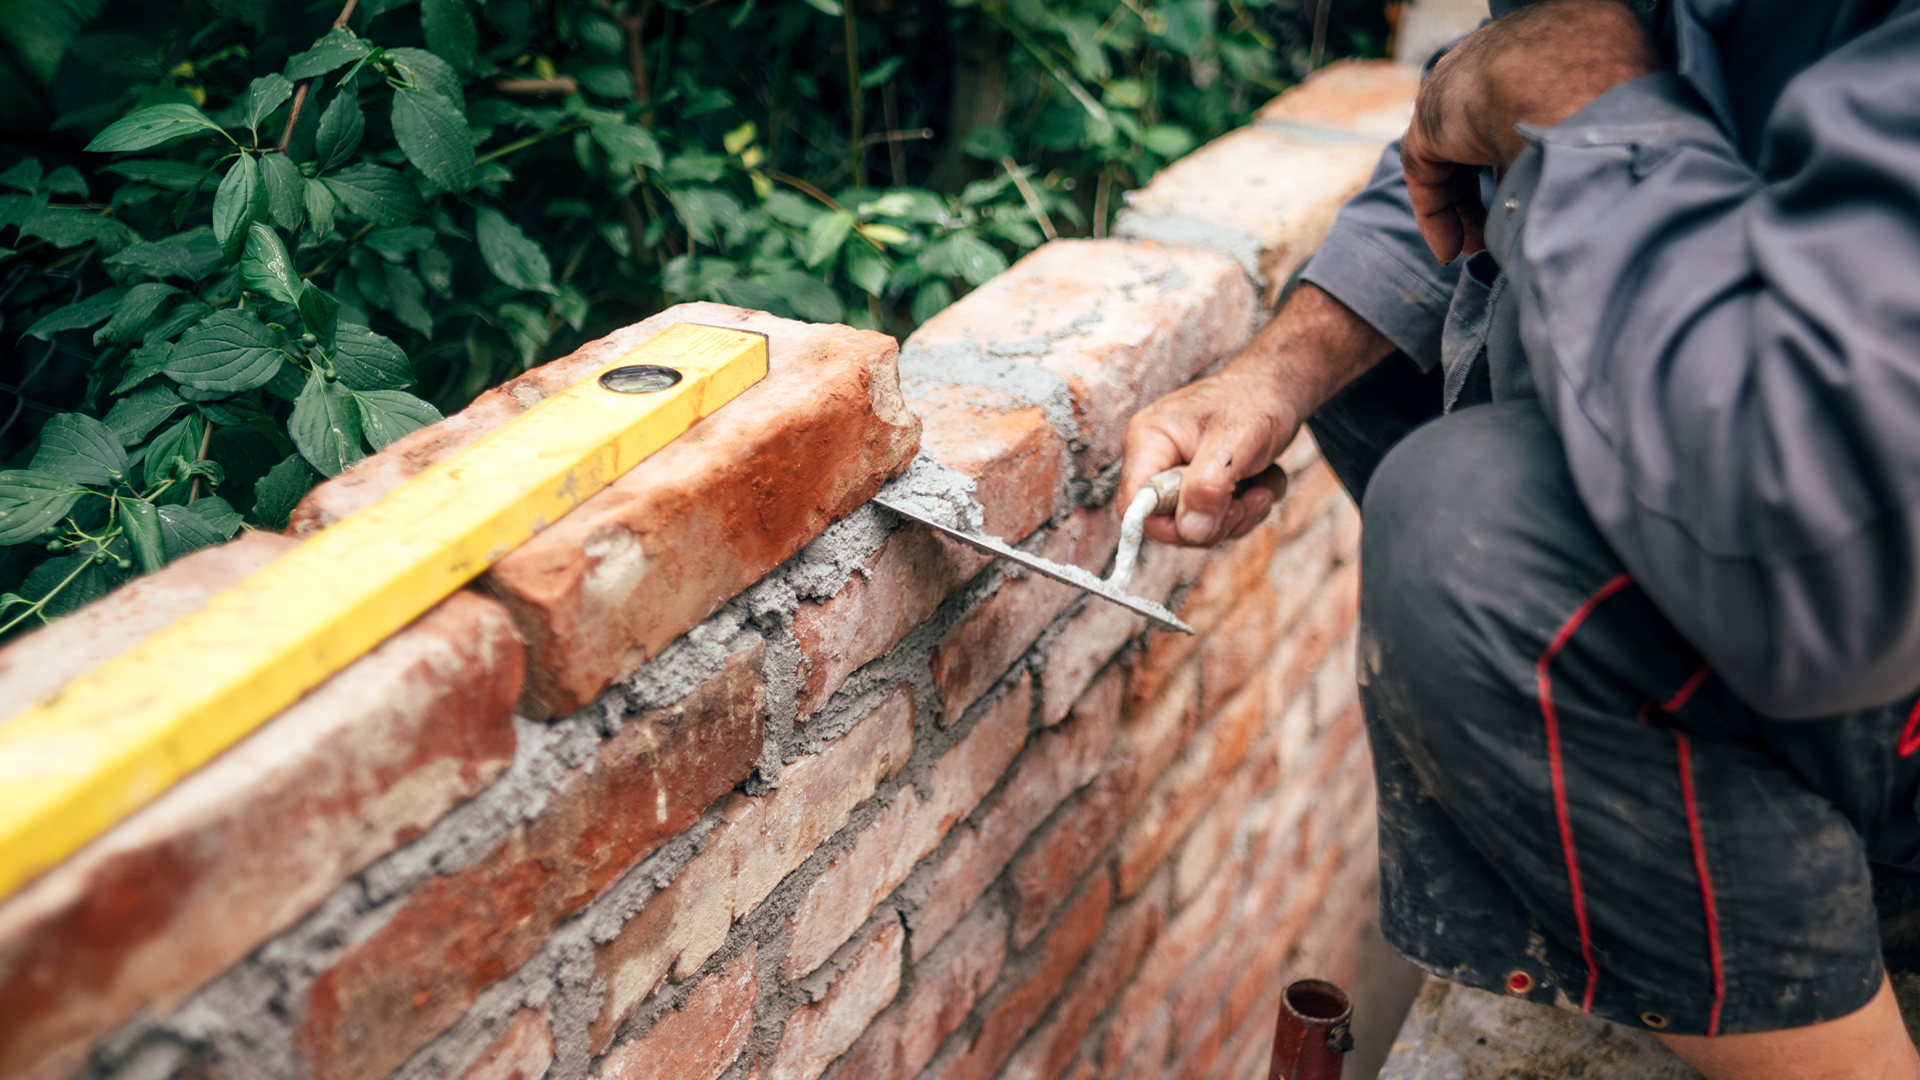
- If you wish to use wall putty paint, it is advised to wait six months before painting a newly constructed brick surface.
- Clean the surface carefully before applying the putty or primer. Any apparent algae or dust could impact the quality of the paint. Use high-quality sandpaper to remove dust, grease, or loose paint from your wall’s surface. This is a useful hint for applying putty to wall cracks.
- Use water and a wire brush to eliminate any fungus or algae growth.
- Use a gentle cloth on the wall’s surface to clean it.
- Before applying the wall putty paint, apply a coat of primer.
- Give it about seven hours to dry.
- Use wall putty now to fill in the wall’s flaws.
- Before moving on, let it dry for four to six hours.
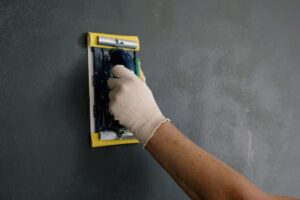
- Sand the surface to make it smooth, then use a soft towel to clean it.
- Put on the last coat of primer.
- After drying, sand the surface with various sandpapers.
- The surface is now prepared for painting!
Conclusion
Putting waterproof putty on our outside walls is advantageous to us since it not only offers a comprehensive and durable solution to the problem of wall maintenance but is also a readily available product.
