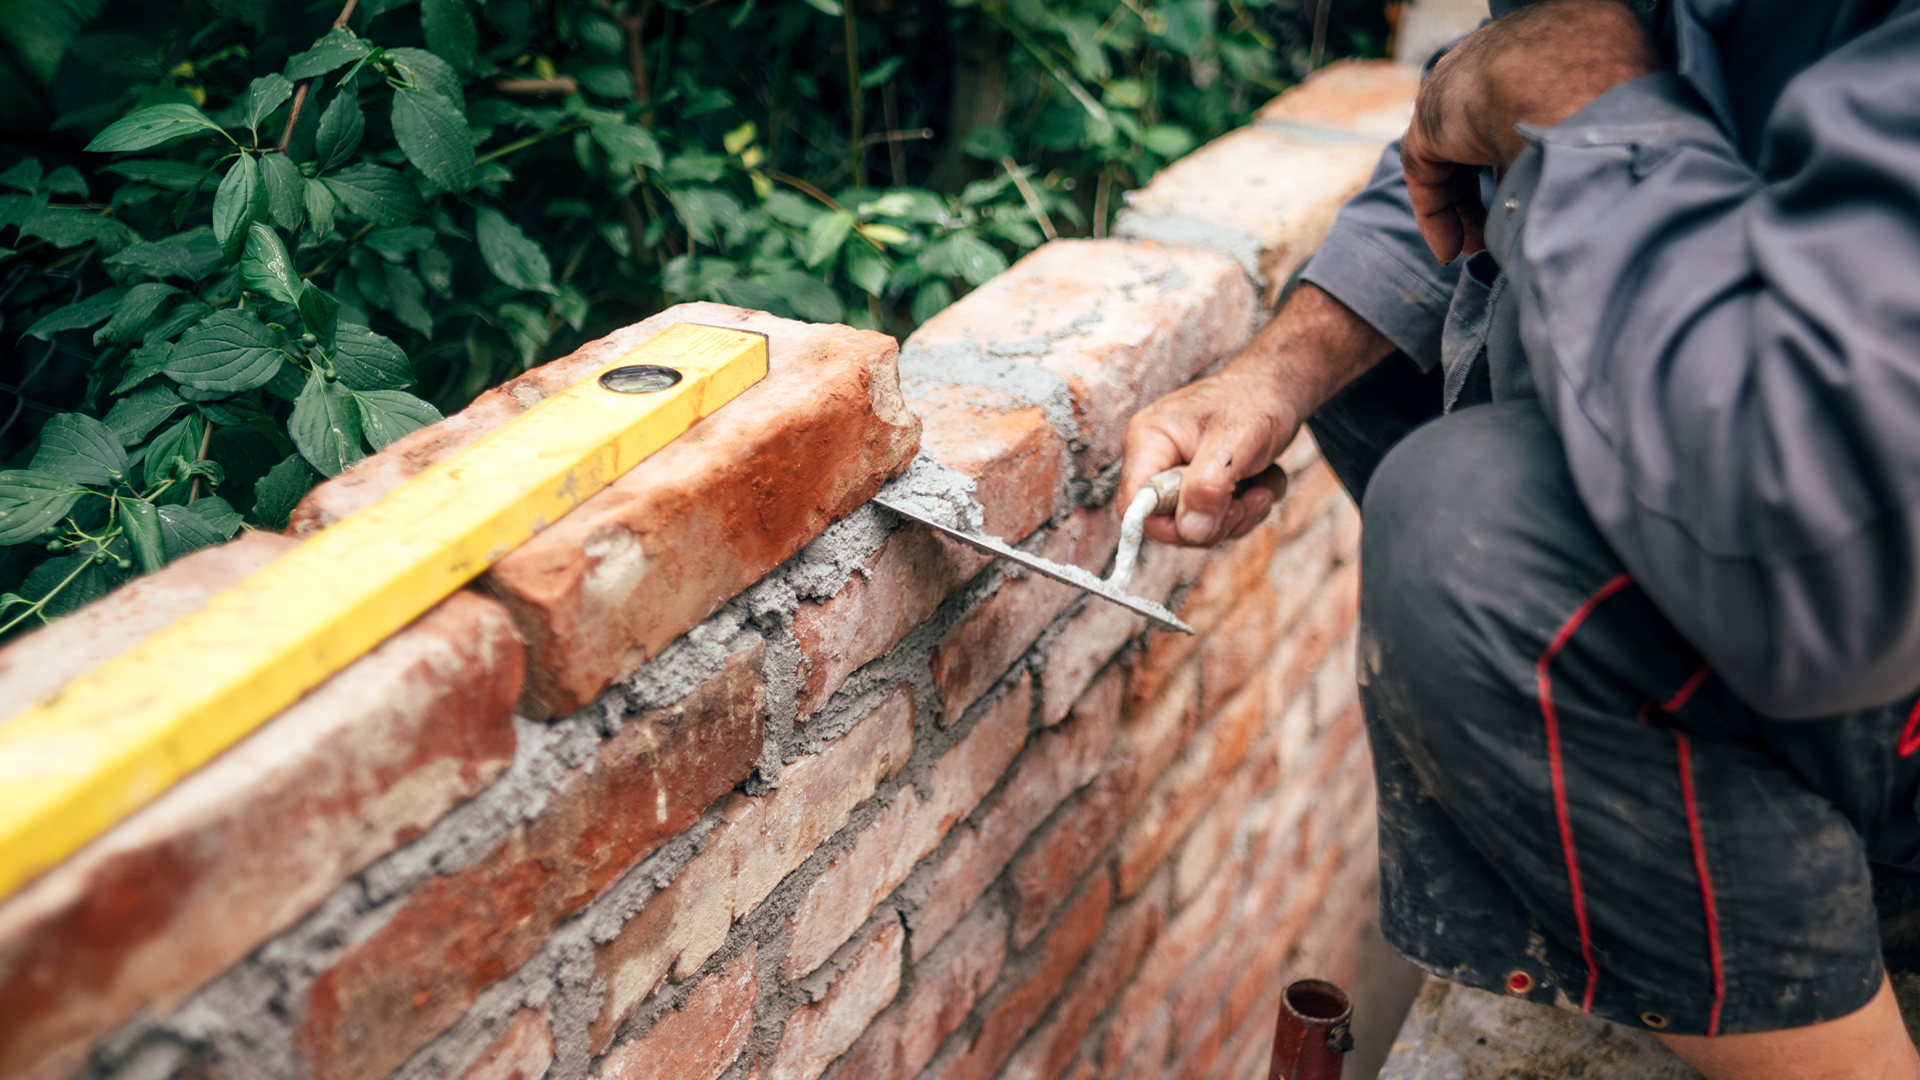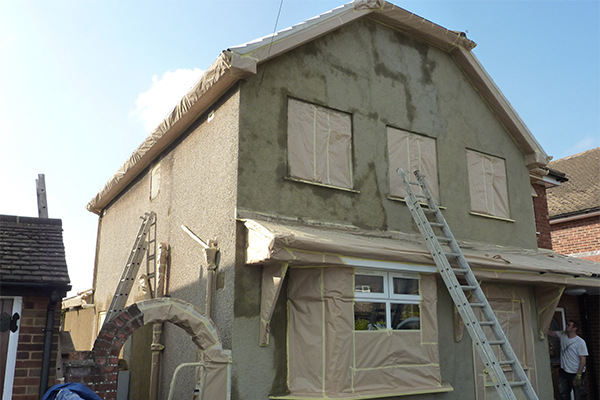
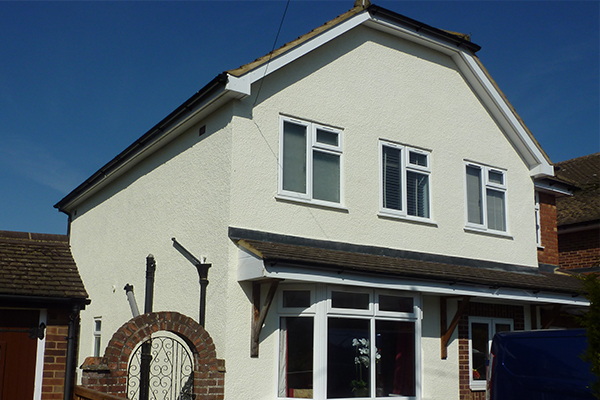
Rendered walls are walls that have a layer of cement mixture without any paint on them. Sophisticated looks like those offered by painted rendered walls are not only aesthetic but also add a layer of protection to the walls of your house. It makes it look smoother and better if only it is done in the right way and using appropriate tools or you may end up with an average result.
If you are wondering it is just about opening the tin and splashing good paint on the rendered wall is all it takes, well, you are not completely right. There are a few Do’s and Don’ts that you need to follow in order to attain the best results by skipping bubbles and cracks in the pain after it gets dry. Let’s have a look at what all needs to be done.
Do’s and Dont’s of painting a rendered wall
You may want to paint an old or a newly rendered wall and it is, any day, a great idea. What’s more important in this process is being cautious with each step and following the right process to amazing everyone in your house with a perfect finish. So, let’s understand what all needs to be done before picking up your paintbrush.
Do’s
- The very first task you need to perform is to inspect the rendered walls that need to be painted. Here, you have to make sure all the edges and corners are properly cemented without any gaps or cracks.
- If you find any snots or drops of cement mixture on the wall, you need to scrape it off before starting the painting process.
- If it is a newly rendered wall, make sure you begin with the painting process only after the rendering has dried properly. So, let it dry and get ready for the paint coat.
- Using sandpapers and brushes, you must remove all the dust and debris before painting in order to get a smooth result.
- If you want designs, use tapes to cover the areas you do not want to paint in order to get proper finishing.
Don’ts
- Never start painting on a wet rendered wall or it can cause damps and cracks later on.
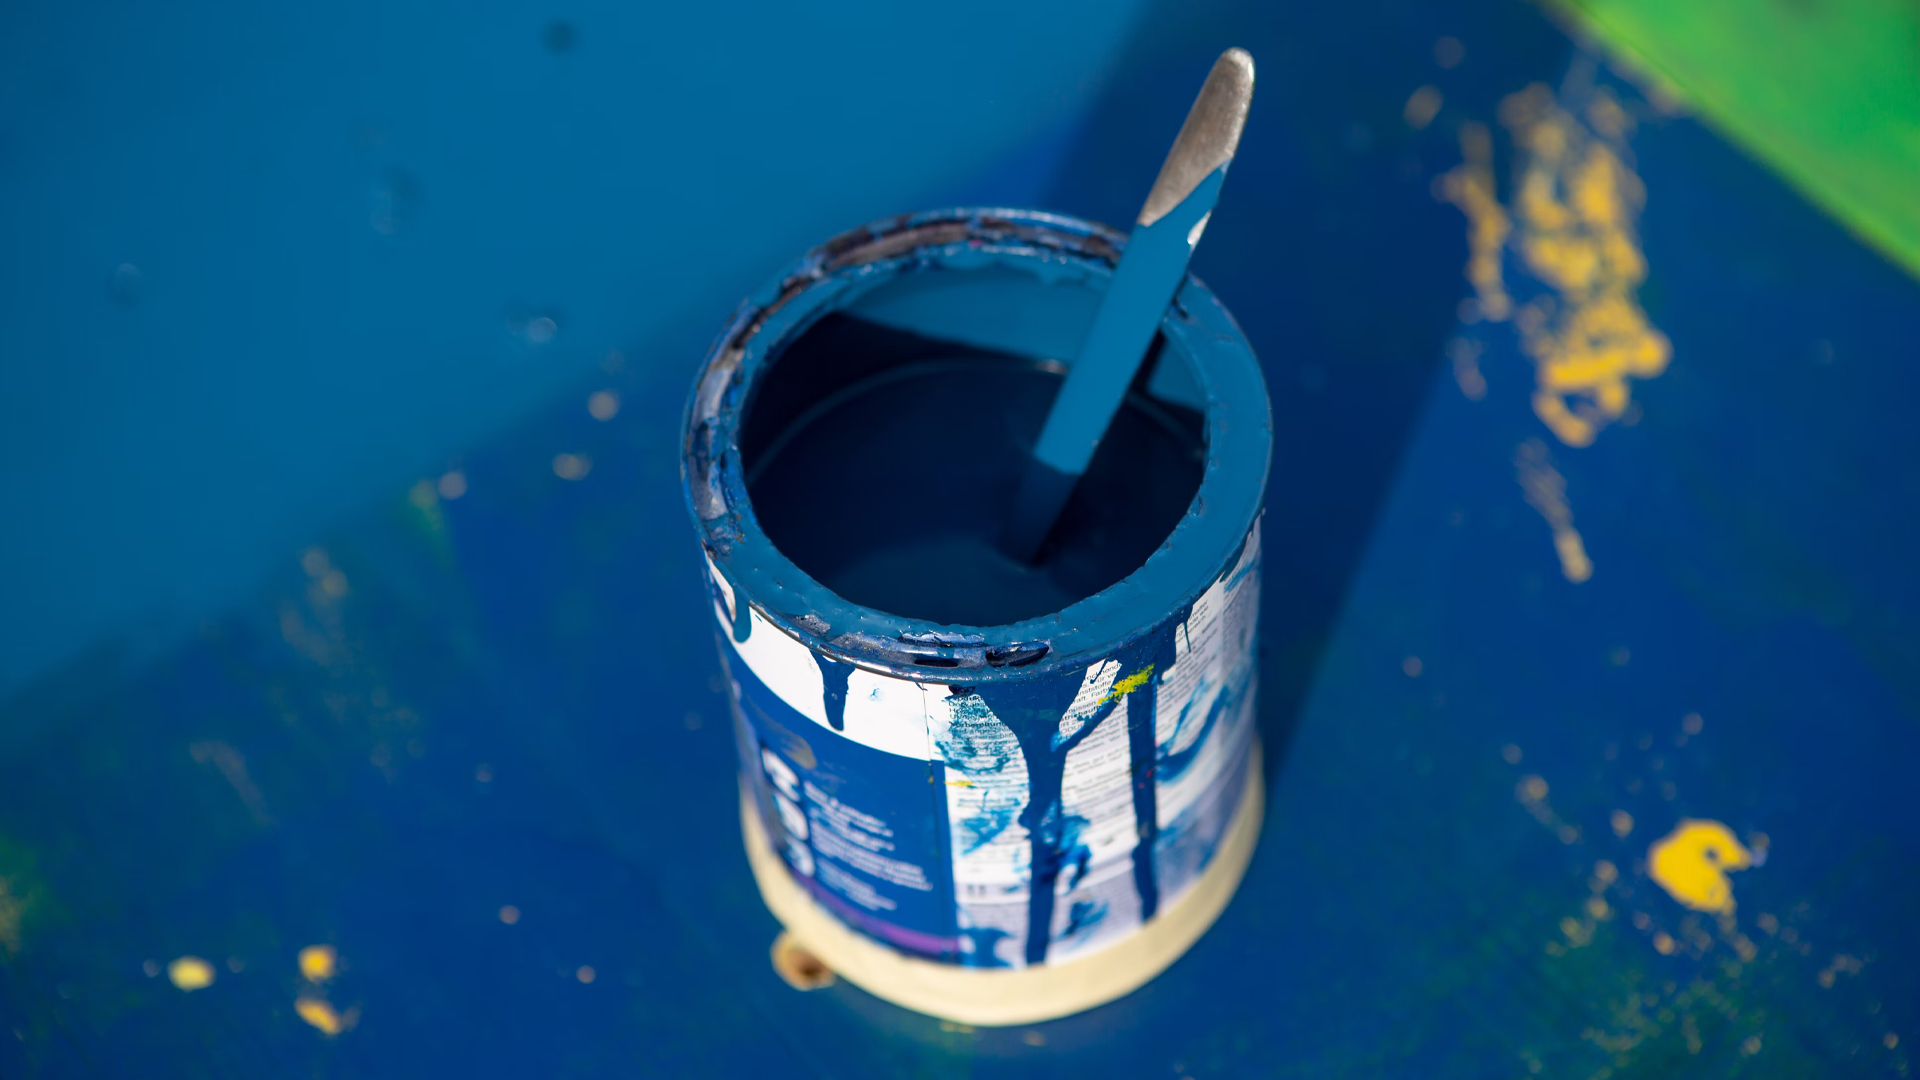
- Do not use any other stirrer than a flat one to properly stir the paint before starting the painting process.
- Painting on half-wet rendered walls can lead to poor results including bubbles and dampness in the future.
- Do not begin by painting from the middle of the wall. Start only with edges.
- Try to avoid painting when the weather is above 30-degree Celsius.
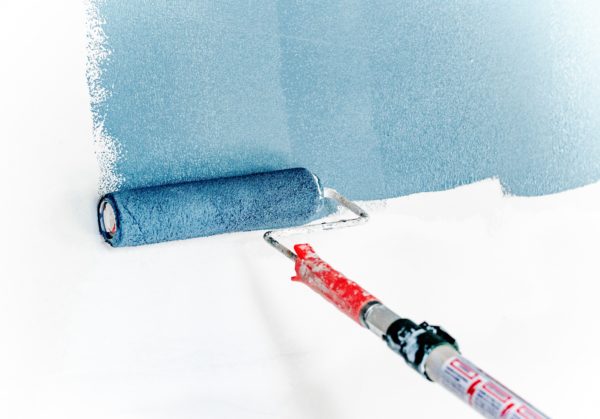
- Try to use a roller to paint the wall. Avoid going for flat paintbrushes.
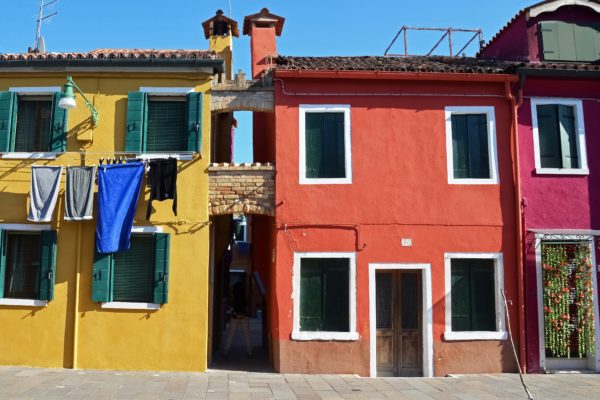
Painting a house with rendered walls
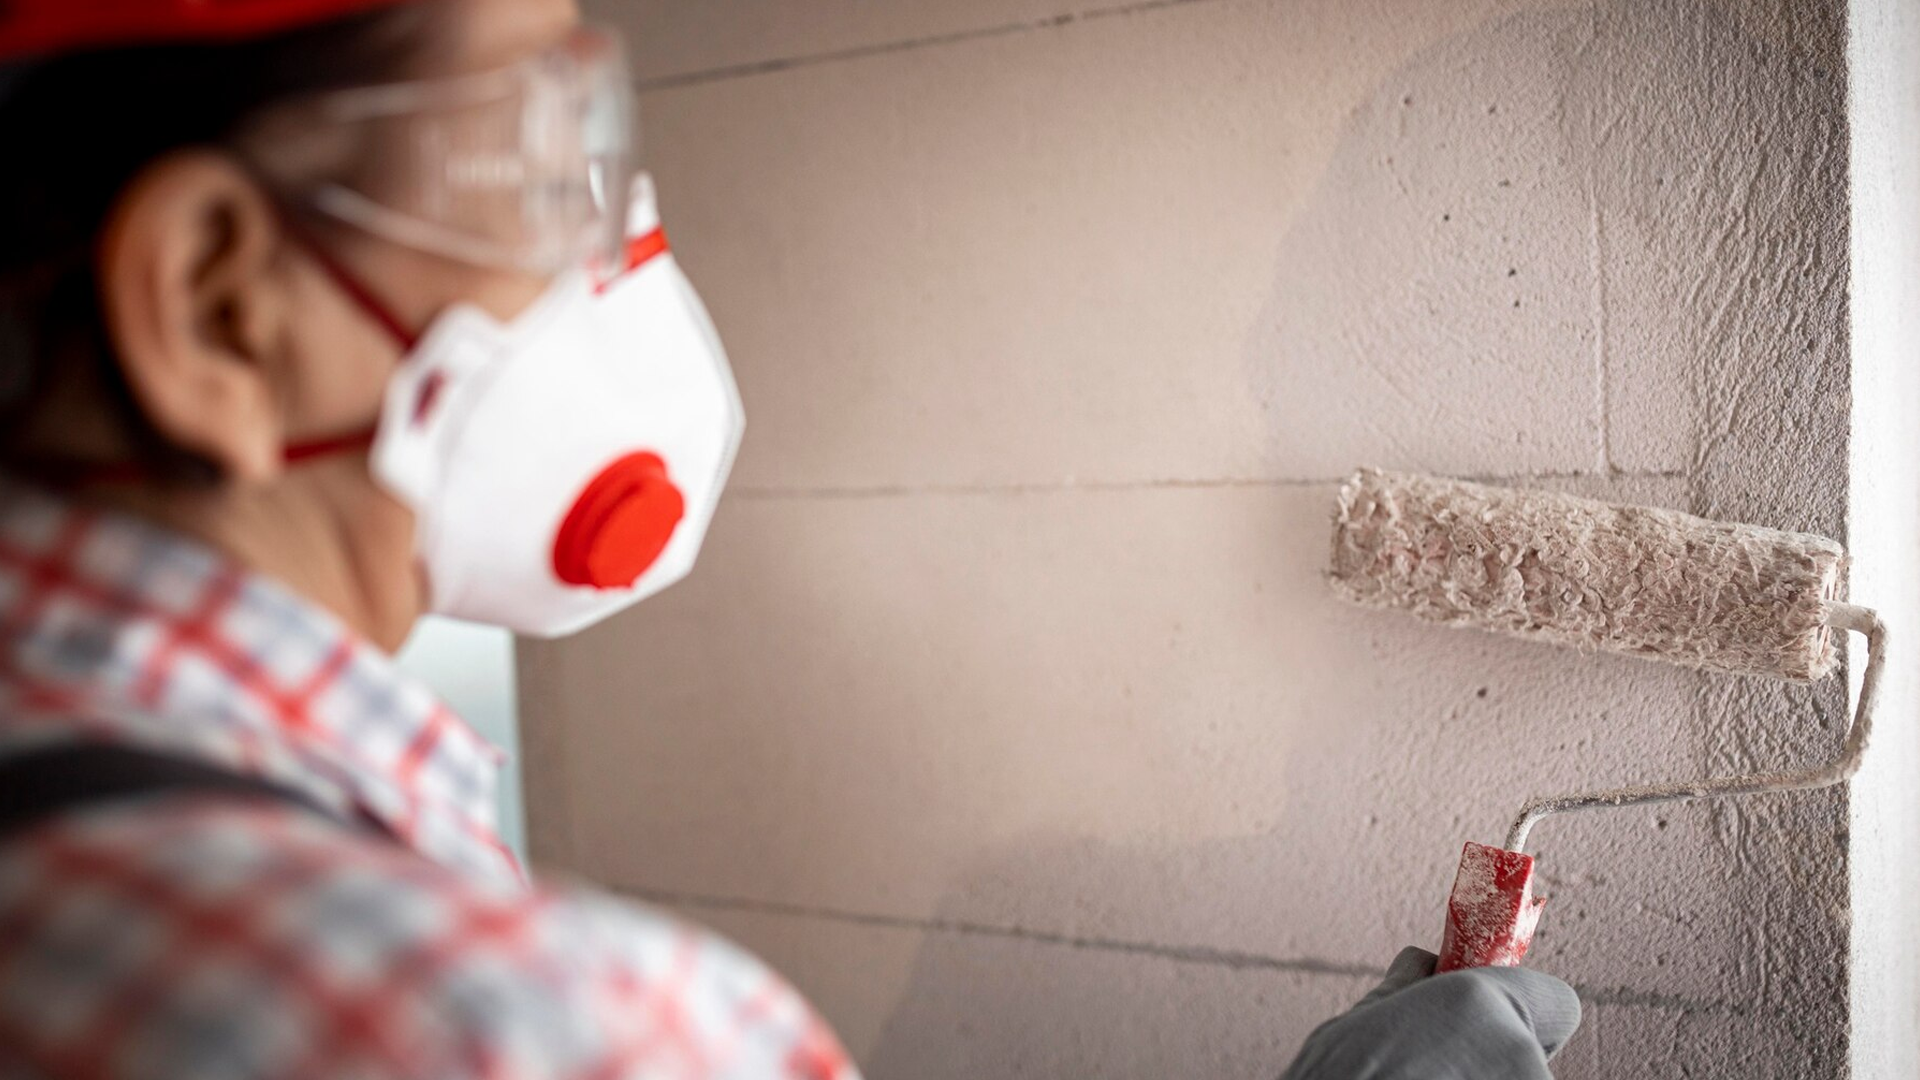
The very basic process of painting your rendered wall is using the right size of a paint roller, dipping it in the paint, and running your hands carefully through the edges of the wall. The best part about painting walls is it becomes super easy when you follow the right process. It will leave you with a satisfactory result.
Follow these simple steps to paint your wall exactly the way you hope of:
- For a smoother, cleaner, and increased adhesion of the wall, you may cover the rendered wall with primer before painting it.
Primer helps in improving the texture of the paint and making it long-lasting. However, you may skip this part if you do not wish to add a primer coat. - Cover the edges with tapes if you are new to this task to avoid the leakage of paint towards the edge of doors and windows or to areas you do not wish to paint.
- You can create simple designs using tapes by sticking them according to the design. In those areas, you can use different colors or even leave them rendered to give a vintage touch to your walls.
- Dip the roller and start painting the edges first. It not only is the professional way of painting but also helps you complete the task quickly.
- When you dip the roller, make sure it is covered with paint evenly in order to paint the wall evenly. If one side soaks more paint, it may result in a thicker coat on one side of the wall.
- A tip is to paint the wall in an ‘M pattern’ and you will be able to paint smoothly without extra effort.
- The amount of paint that gets soaked in the roller can help you cover three to four meters of the wall in one go.
- Try to dip the roller as soon as the paint starts to fade in order to avoid putting in any extra effort.
- Make sure you cover the edges of one stroke of paint on the wall in order to avoid streaks of paint on the wall.
- Try to paint in the proper and same pattern throughout the wall to avoid a patchy finish.
- After covering the whole of the wall, leave it for at least 2 hours or more.
- Once it gets dry, remove all the taps, if applied, and woo-hoo! The painting is all done and you are all set to enjoy the freshness of the newly painted wall of your home.
You can use any tool that you are comfortable with, be it a roller, paintbrush, or spray. Using an even pattern after properly cleaning and inspecting the wall will definitely give you the desired results.
