Key Take Aways
Bubbling in interior plaster walls is almost always caused by underlying damp—often from moisture rising through walls, leaks, poor drainage, or inadequate ventilation.
Before any repairs, identify and address the root cause: improve drainage, ensure vents under floorboards are clear, and consider adding or repairing a damp-proof course.
Repair steps once the damp source is fixed:
Remove damaged plaster with a putty knife, scrubbing until only firm, solid plaster remains.
Clean the area using a nylon brush, then sponge and water to remove dust and lime—all while ensuring the wall is completely dry.
Seal with primer (oil-based or quick-dry) to block contaminants and stains and provide a stable base.
Fill and level using jointing compound for small areas or plaster for larger patches—apply in thin coats, feathering edges, then sand smooth after drying.
Finish with another coat of solvent-based primer before repainting to prevent any residual damp from bleeding through.
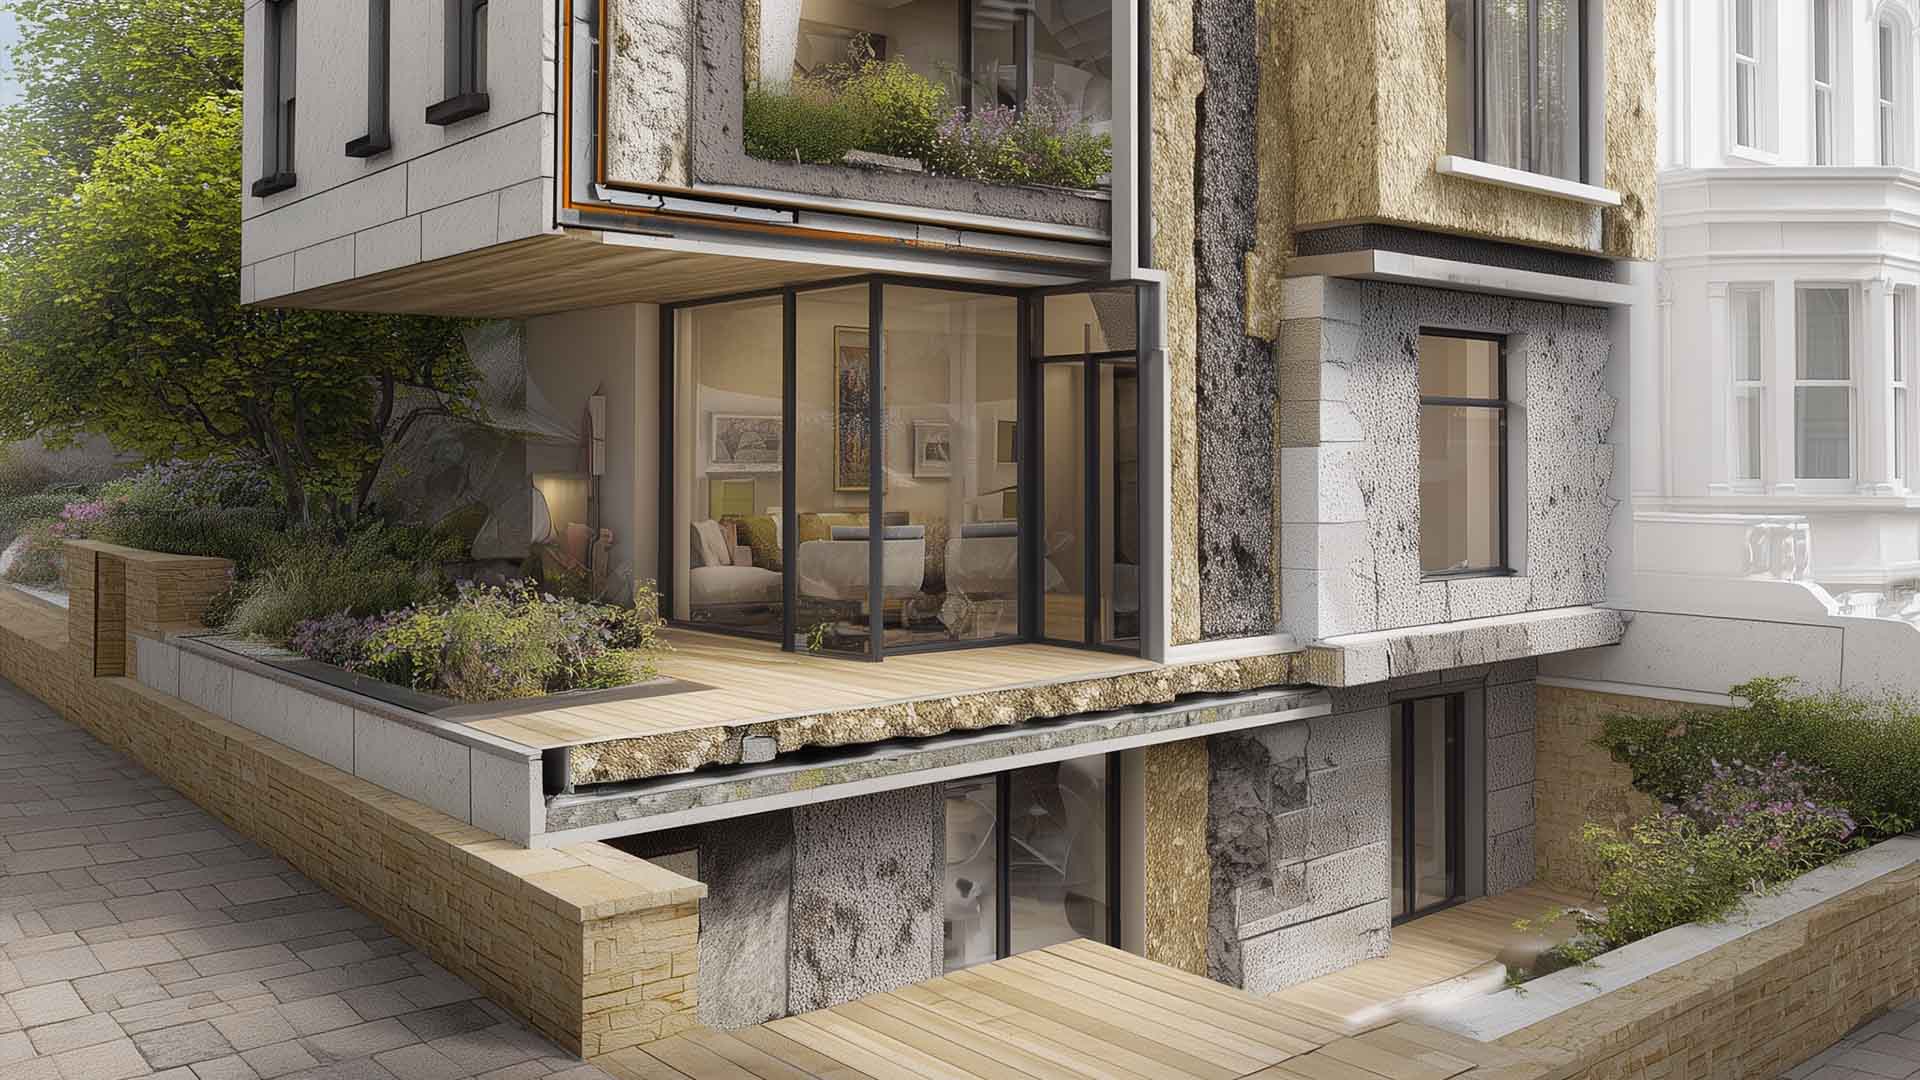
Prevent future bubbling by addressing ongoing moisture issues: maintain proper building drainage, insulation, ventilation, and damp-proofing systems.
We certainly give our best shot when we paint our home. With creative designs to modern art, from using wallpaper to keeping the wall adorned with minimal changes, the base of a wall comes with a core finish with the proper paint. In a few cases, a brick house that uses soft porous bricks with limestone mortar can face this bubbling issue. The interior walls that have a finish of lime plaster show signs of bubbling when repainted or renovated. The culprit here is water and its damage to the exterior wall.
Before you think about expensive wall repair, you might be interested to know the reason behind this problem. Usually, dampness is the reason for the plaster wall bubbling or bulging. It can be due to rainwater seeping through the roof or absorbing moisture from the ground. Some natural disasters like floods can also be a reason for it.
The reason behind bubbling in the plaster wall
If your interior plaster wall doesn’t have a damp-proof coating on top of the paint, you are more likely to face dampness issues. Here, the moisture rises through the wall, and bubbling appears. The plaster then comes out, and the powder-like mixture falls on the floor.
It looks very depressing and worn out. You will never get a refreshing feeling inside your home if your walls leave their top layer and fall on the floor. Sometimes drainage issues or improper ventilation can be the reason for bubbling. Whatever the reason might be, it is important that you first take the advice of an expert if you’re dealing with this dampness issue. Only an expert would give you the best advice.
What is the solution to the bubbling problem in the interior wall?
Firstly, you need to find out the reason behind the bubbling problem.
- You need to look into the solutions for all the possibilities behind dampness. You can look into the drainage system of the building. Make sure that the slopes nearby are away from the building.
- Keep a check on the space that is under the floorboards. The process of evaporation of moisture from the soil underneath is important. The vapours should comfortably pass through the wall vents to prevent dampness.
- The damp-proof course is another solution to this damp problem. However, this idea works best when there is no solution to the water rise problem. This course will prevent water from running through your walls and hence will stop dampness. Additionally, seek the advice of experts as they can help you in the best manner in this case.
How to repair an interior plaster wall with bubbling?
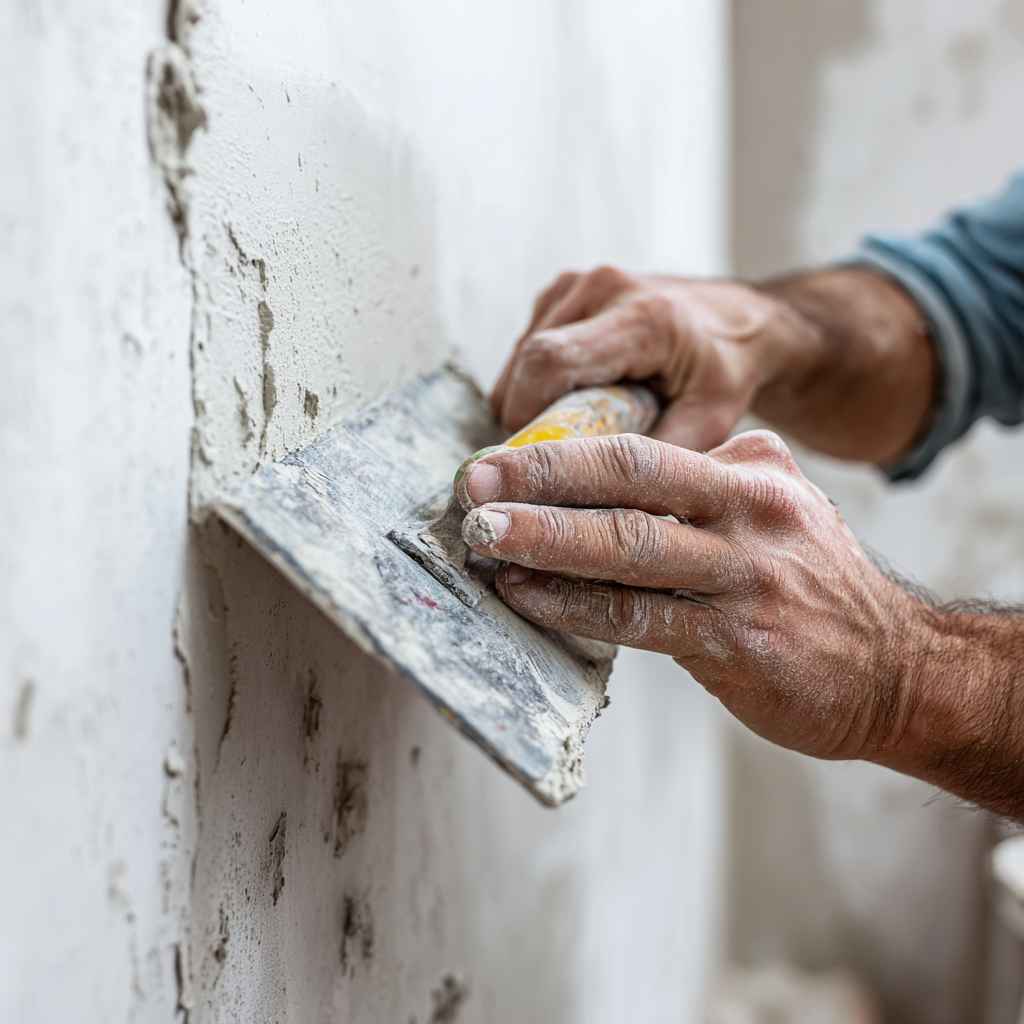
It’s very important to find and solve the cause behind bubbling in walls before you start repairing the plaster. Once you have sorted out the basic cause of dampness, you can focus on repairing the bubbled plaster wall. You can go through this step-by-step process that will help fix your bubbling wall:
- Get rid of the damaged wall coating– you will need a putty knife here. With the help of the knife, you can scrap the cracking paint along with the bubbling plaster on the bubbled wall. The soft material that is loosely sticking on the wall will easily come off with the knife.
You have to dig a little systematically with correct pressure all around the wall, starting from the centre of the bubbling portion and ending around the boundaries of the same area. Here, you need to continue scraping unless a firm and undamaged plaster coating come to the forefront.
- Cleaning the wall- you can use a nylon brush to clean the wall. Brush against the wall, and all the extra dust will fall off. You can then use water and a sponge to remove any lime deposits sticking around. You need to have a clean, smooth wall before going on to the next step. Let the wall dry off completely.
- Seal the wall– when the wall is dry and ready for further process, you can apply a coat of primer on it. The work of the primer is to avoid the spread of any form of residual contamination on the wall surface. It also prevents the accumulation of stains while painting.
The primer can be an oil-based or quick-dry sealer. Apply the primer properly on the damaged surface along with the adjacent wall paint. Let the primer take its time to dry completely. An oil-based primer will take a day to dry; a quick-dry one will take a few hours for the same.
- Repair– use plaster to fill the wall and level it. If the damaged area is small, a jointing compound will be ideal, while the plaster will be better for large areas. You can start with a jointing compound mixture by applying it at 1/4th inches of thickness and skim off the excess mixture with a jointing knife.
Try to avoid making thick layers of coating around the edges of the damage. If there are any rims left, coarse sandpaper can level it. You have to ensure that you do the sanding process after the compound has dried off completely. During the second coat, you have to apply the mixture to the deeper areas of the damaged portion.
Again, skim off the extra mixture. Try to apply a thin coating of the compound. Let it dry, and then scraping, sanding, and wiping off the dust are the next ones to go for. - Finishing- after sanding, you can clean up with a rag. Apply a coat of primer before the final paint. Experts say that using a solvent-based primer-sealer is more suitable since it will help prevent any residual water contamination with the new paint coat.
Conclusion
You can follow these simple steps and get rid of those ugly bubbling walls that are ruining the beauty of your house. Now, you can get ample brands selling good-quality paint and primer in the market. Choose the best one and enjoy the beauty of your home being bubbling-free for years to come.

